Rainbow Fins Tutorial, Part 2.
Hi guys! Thanks for visiting from the Sydney Modern Quilt Guild website!
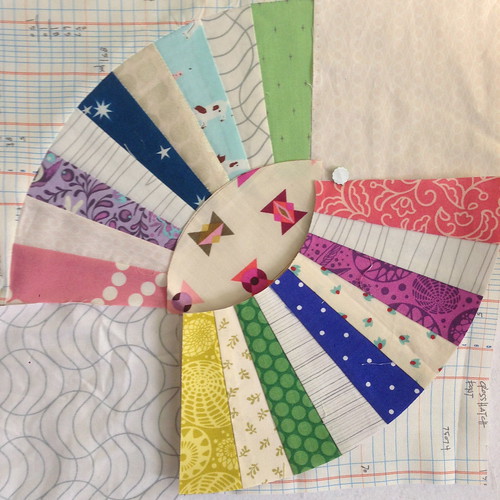
Last time we left off with a perfectly paper pieced fin. That meant five rainbow fabrics and four low volume fabrics. Now we are going to talk about creating templates for the corners and the eyes of the block and how to piece the corners to your fin. Don't be nervous, today we're only doing ONE curve! (The next tutorial will cover the tricky bits. Don't worry about the square blocks and don't bother making a template for them - they can be rotary cut by ruler!)
Firstly, you need template plastic. It's stiff and you can get it cheaply at a local quilt shop or a bigger chain store like Spotlight.
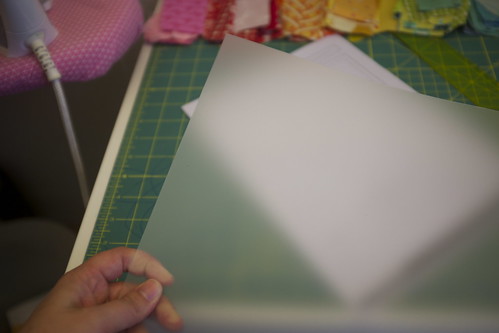
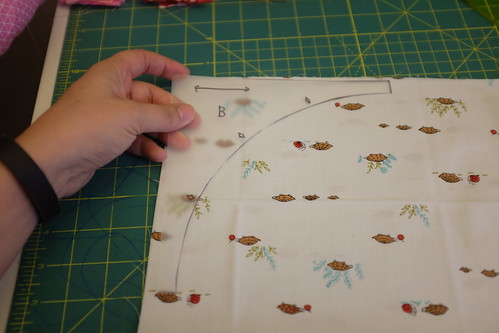
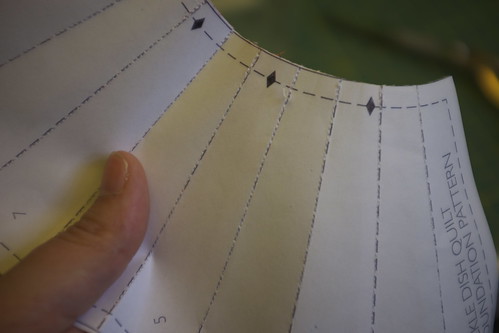
Then you need your pattern piece. Once you lay the template plastic on the pattern piece you can see through it well enough to trace!
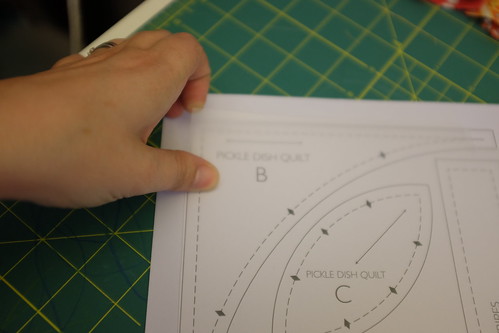
I like to line my straight edges up if possible, because I have a toddler and she knows the second I uncap a permanent marker and would do anything to get her hot little hands on it. So I do a shortcut but feel free to line up your edges or not!
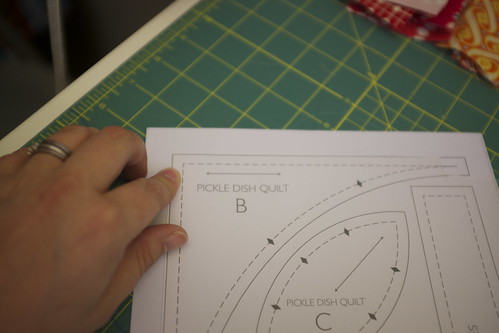
Trace the pattern pieces B and C onto the template, and be sure to transfer those match-up markings and pattern numbers. (If you ever do asymmetrical pattern pieces in future it can be handy to write "top" on the right side of the template as well. But that doesn't matter here.)

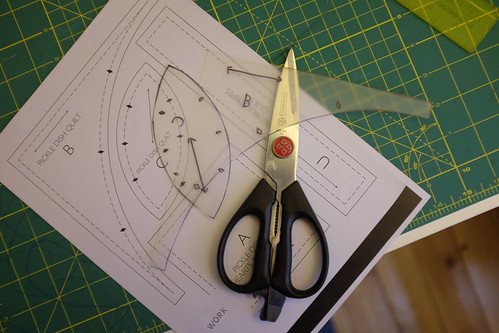
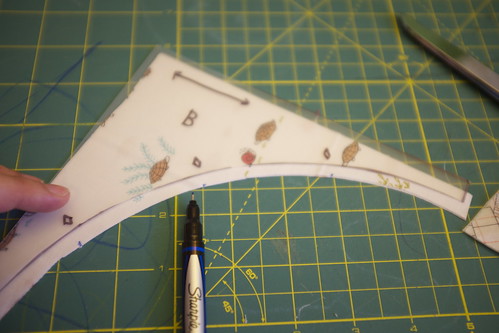
Cut those babies out using crummy scissors. You know the ones, the sticky, ancient ones in the junk drawer -- NOT your nice knife-edge fabric scissors! (Look, mine are chicken-jointing kitchen shears.) :)
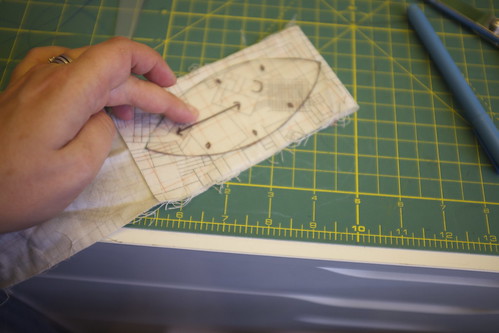
Double up your fabric if you dare and trace the template carefully using a pen or pencil. This is your "corner". Cut it out using those nice, sacred fabric scissors.
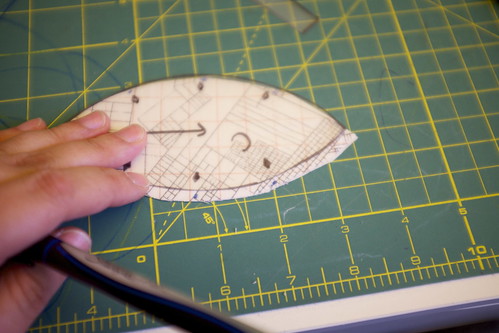
Double up your fabric and trace your "eye" piece as well. Cut it out using your nice scissors. Maybe pet them a little. Scissors are so important.
Transfer your markings as soon as you cut. I suggest this because I find transferring markings to be extremely boring, so I try and do it as soon as possible!
Keep your markings on the edge of the fabric. You don't want these marking showing up on the finished blocks!
(
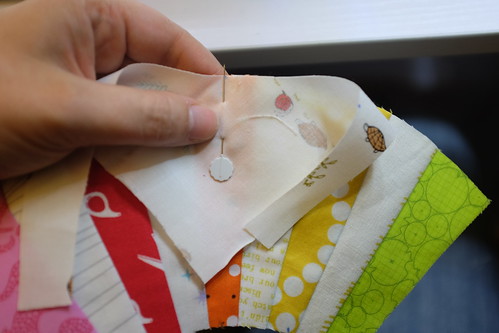
Turn your fin over to find the markings on the still-attached paper. Transfer those to the front. the way I like to do this is with a pinprick and a pen.
Line up your centers. The fabrics should be right side together. Pin the centers together.
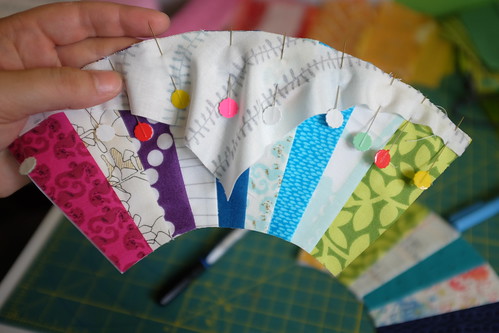
Pin outward, alternating sides. So pin the left middle, then right middle, then left again, then right again, then the ends. Make sure the diamonds line up, then ease it over those tricky curves and pin it firmly in place.
Turn it over and sew a scant seam (so a skosh on the outside of the printed 1/4" seam line) and sew very slowly, very carefully.
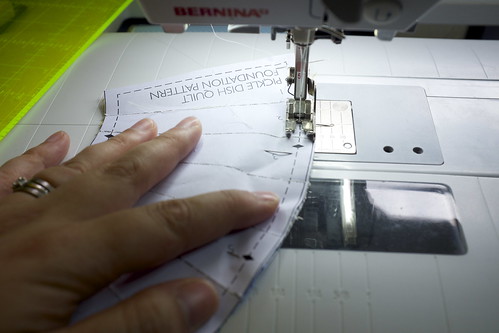
I am really naughty and I leave my pins in right until the last second!
Press it outward and pat yourself on the back. You just sewed a curve! Aren't you great? (You are.) :)
Tomorrow I hope we will go over the trickier bits of attaching the eyes and the end squares - it depends entirely on how sick my little ailing family is. Stay tuned!
Penny xx
 Penny Poppleton
Reader Comments